
How to Care for and Repair Vintage Hair Accessories
A loose rhinestone on a 1950s barrette and a bent tooth on a celluloid comb call for very different responses. Press the stone back and you could crush its old setting; warm the comb to straighten it and the plastic may distort permanently. Set the accessory on a clean, padded surface first, then look closely at what is failing.
Restoration need not make a vintage piece look new. Sometimes the best intervention is to remove surface dust, secure a detached bow with a few stitches, or leave a fragile ornament unworn. Original finishes, construction marks and modest signs of use are part of its history.
Start with an examination, not a cleaning product
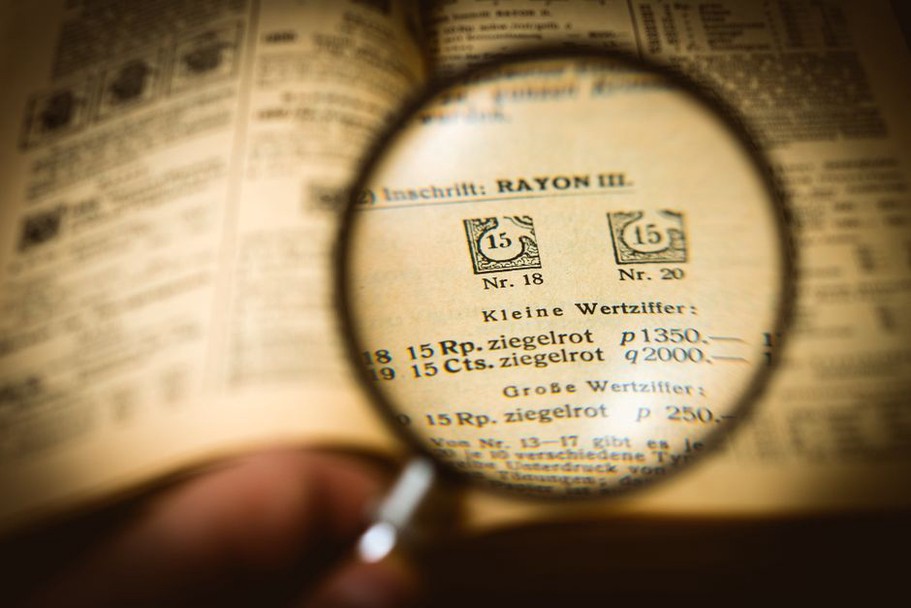
Work in good daylight over a pale cloth that will catch a fallen bead or screw. Photograph the front, back, fastening and damaged areas before handling the piece further. Is the decoration sewn, wired, riveted or glued? Does the clasp open smoothly? Does a crack cross a point that bears weight? A magnifying glass can help you tell loose dirt apart from flaking paint or plating.
Sort the pieces into three practical groups:
- Stable and dusty: suitable for careful, dry surface cleaning.
- Loose but intact: a possible candidate for a limited repair once you understand how it was made.
- Cracked, corroding or shedding material: leave unworn and seek specialist advice before treatment.
Resist testing a clasp again and again. Each movement may widen a fault in an old spring or thin plastic hinge. Put detached parts in a labelled paper packet alongside the accessory rather than guessing where they belong.
Identify the material before choosing a method
Vintage accessories often bring together materials that respond differently to moisture and solvents. An Art Deco-style comb might have a moulded plastic body, metal fittings and stones with reflective backing. A velvet bow may hide a cardboard stiffener; an Edwardian ornament may pair silk with fine wire. Let the most vulnerable component determine what you do to the whole piece.
Early plastics and painted surfaces
Heat and solvents can damage celluloid. Warning signs of deterioration include warping, tackiness, cracking and a sharp chemical odour. Keep an affected piece apart from other accessories and ask a conservator for advice: polishing cannot reverse the damage. Aggressive cleaning can harm Bakelite and other phenolic plastics, too, while coatings on later plastics may scratch easily. If you are unsure what a piece is made of, do not use a solvent to find out. Start with a soft, dry brush rather than an unidentified polish.
Metal, stones and glue
Only a thin finish may remain on plated metal. Abrasive polish can take it off, while liquid cleaner can seep into a clasp or beneath stones. Moisture reaching the backs of foil-backed rhinestones is a particular concern: a dull stone may have damaged backing, not dirt on its face. Brush away loose dust and use a dry, soft cloth on sound, exposed metal. Leave painted details, wired beads and unstable settings alone.
Fabric, feathers and mixed construction
Water can leave rings on silk, flatten velvet pile and weaken old adhesives. Even a cleaning cloth can snag feathers or lace. Support the fabric underneath as you lift loose dust with a very soft brush, and do not pull a ribbon taut to ease out a crease. Faded fabric is usually better left as it is than subjected to an unsuccessful wash.
Choose repairs that can be understood later
Before repairing an accessory, decide what actually needs to work. A decorative bow need not survive a machine wash; a comb kept for display does not need replacement teeth. A small, stable repair should preserve the original parts and be recognisable to a future owner.
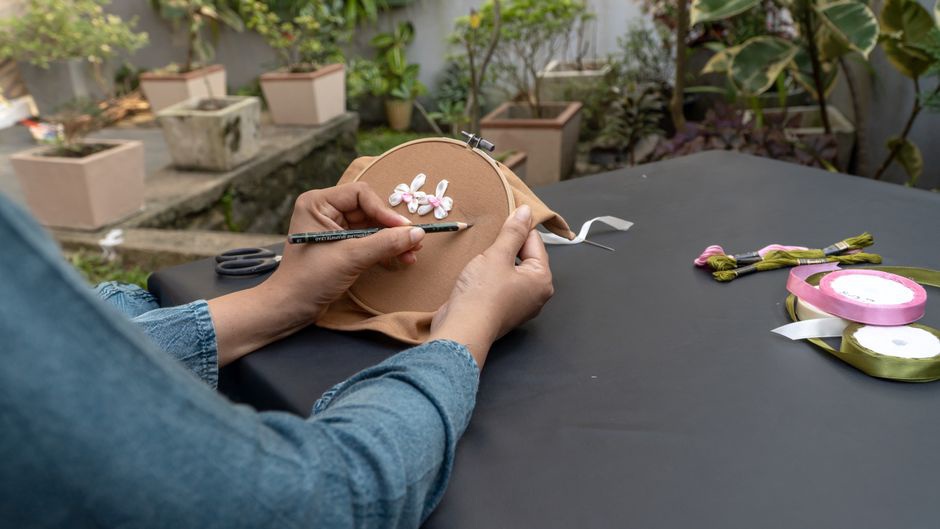
- Secure sound components first. Support loose stitched trim while you examine the original thread path. If the fabric is strong enough, a few carefully placed stitches may be better than glue.
- Retain original hardware. Save an old clasp even if you need a replacement for wear. Avoid a fastening that requires new holes in a brittle body.
- Match the repair to the load. A decorative bead and a hinge supporting an entire barrette need different levels of strength. A quick adhesive fix is not enough for a structural break.
- Record what changed. Note the date and materials used, and keep a photograph taken before repair. That way, a later replacement is less likely to be mistaken for an original feature.
Household superglue is rarely a good default: it can leave a white haze, soak into textiles and complicate later repairs. An adhesive that suits one material may damage the old paint, plastic or mirrored stone beside it. If choosing or applying a compatible adhesive involves guesswork, stop rather than experiment on the accessory.
Know when to stop
A split near a comb’s base, crumbling plastic, active corrosion or stones falling out of several settings needs more than routine home care. The same goes for a valuable or historically significant piece whose construction could be obscured by repair. A textile or objects conservator can assess how to stabilise it without promising an invisible result. For a modestly priced find, safe display may make more sense than extensive reconstruction.
Nor does every missing element need replacing. An empty setting among original stones records part of the accessory’s age, and finding an exact match can be difficult. If you do add a replacement, describe it honestly when cataloguing the piece; never present a new component as a period original.
Protect the result during wear and storage
Test a repaired fastening over a towel before wearing it, opening it no farther than necessary. If a heavy ornament slips or pulls at its attachment, it is not ready to wear. Keep accessories away from hairspray and perfume as you dress, and pick them up by a sturdy part rather than a feather, bow or stone setting.
After wear, let a sound piece air briefly. Then give it an individual, lightly padded compartment, where metal edges cannot catch fabric and comb teeth cannot press against another object. Keep it away from radiators, direct sun and damp windowsills. Label detached parts with a description of the accessory; a tiny stone in an unmarked envelope can easily disappear during the next tidy-up.
If your barrette has a sound clasp but a loose bow, begin with five minutes of inspection. Photograph the stitching on the reverse, set aside any fallen thread and check whether the fabric can take a new stitch. Until you know, leave the bow unpulled.