
How to Read a Vintage Metal Hair Pin
A metal U-pin needs a little give in its legs to slip into a twist, but its decorative head must stay put when you turn the pin into place. That balance of spring and strength is hard to judge through a display case. Look at the joins and the shaping, though, and you can begin to see the choices made at the workbench.
Begin with the working parts
“Hair pin” covers several objects. A U-shaped pin has two open legs joined by a curved top; a straight hair stick is a different form, even when both carry decoration. A slide or barrette closes with a hinged clasp. Each asks something different of its maker. A U-pin depends on its shape, the arrangement of the hair and sometimes a slight bend in its legs. A slide depends on its spring and catch.
On an undecorated pin, the workmanship is largely in the wire. Look for legs that are broadly symmetrical, smooth at the tips and free of abrupt kinks. Slight variation may be consistent with handwork, but it cannot establish age. Check beneath a decorative head as well: however lovely the front, it will be awkward to wear if the fixing shifts under gentle pressure.
How a metal ornament takes shape
Vintage pins may be brass, copper alloy, steel, silver or plated base metal. A silver-coloured finish tells you little about what lies beneath; wear along an inconspicuous edge may show another colour. Construction is often more revealing. The head might be shaped from sheet metal, cast as a small component, assembled from wire or made using several techniques.
Stamping, casting and hand assembly
Stamped sheet metal starts as a thin sheet pressed or cut into shape. Raised floral details, crisp outlines and a fairly flat reverse can offer clues. The maker might then pierce openings, curve the surface and smooth the edges. Stamping made designs repeatable, though finishing and assembly still mattered.
Cast components are formed in a mould. They may have deeper relief and a more substantial reverse. Casting marks can be cleaned away, so the presence or absence of a seam is no firm guide to date. Two flowers may look alike from the front; turn them over and compare their thickness and how the details carry around the edges.
Wirework and assembled heads deserve a close look. A maker might bend fine wire into loops, solder it to a frame and add a bead or stone setting at the centre. Where the parts meet, check that the joins are tidy and that the ornament is securely connected to the pin. Visible solder can be part of genuine older work; a thick, uneven patch may point to a later repair. Neither observation proves authenticity on its own.
Decoration with a practical purpose
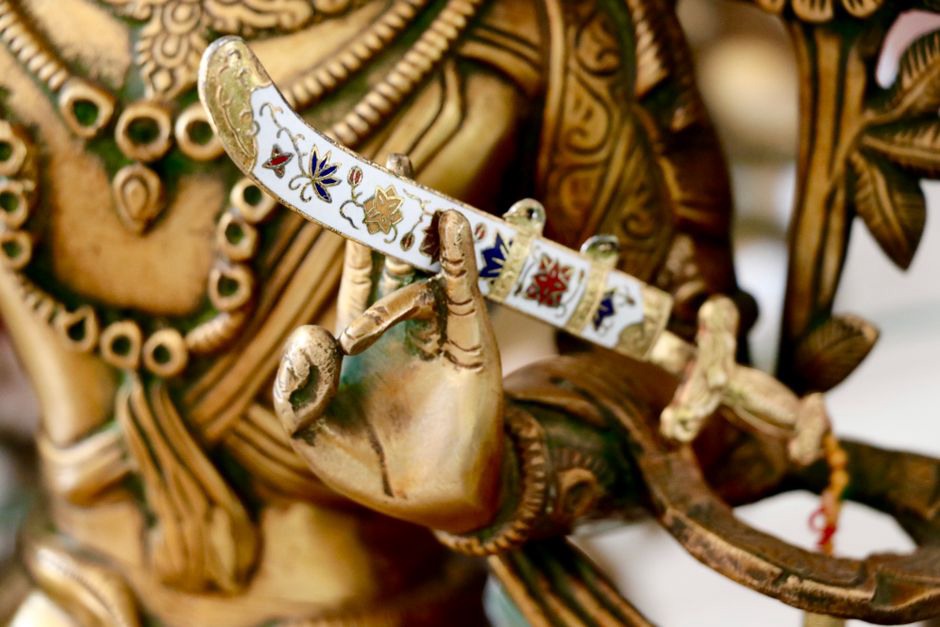
Openwork lets the hair show through a decorative head and makes the ornament look lighter. It is sometimes loosely called filigree, but true filigree generally uses fine metal wires arranged and joined into a pattern. Pierced sheet metal achieves a similar look by a different method. The distinction matters when handling the pin: fine wire loops can catch on fabric, while a bent edge of pierced sheet may become sharp.
Small stones and glass pieces call for other skills. A bezel wraps metal around a stone’s edge; prongs grip it at selected points. On vintage costume pieces, coloured glass or paste can be as central to the design as a precious gem is to fine jewellery. Check that settings sit evenly and nothing rattles. Glue may be original on some later pieces or evidence of repair on others, so it cannot date a pin by itself.
The finish also shapes what you see without necessarily identifying the metal underneath. Bright plating can sharpen geometric edges; an oxidised finish can bring raised leaves forward against dark recesses. Uneven darkening is not always intentional patina. It may come from handling, worn plating or corrosion, especially near joins where moisture can linger.
Period influences without false precision
Metal pins changed with hairstyles and manufacturing, but a motif is not a calendar. Late Victorian and Edwardian-inspired pieces may feature flowers, scrolls and delicate openwork. Pins influenced by the geometry of the 1920s and 1930s can have stepped outlines, fans or balanced, angular shapes. Later twentieth-century designs range from restrained metal forms to bold decorative heads. Earlier styles were revived, sometimes decades after they first appeared.
That is why “Art Deco style” is usually sounder than a precise 1930s date based only on a photograph. Packaging, securely associated provenance, a legible maker’s mark or a hallmark can help, if interpreted carefully. A patent number may date a fastening design rather than the individual pin. A mark may belong to a component supplier, not the maker of the finished accessory.
For British finds, there is another wrinkle: a pin sold in Britain was not necessarily made there. Imports, local assembly and later repairs all complicate national labels. When evidence is scarce, start with what you can see—“silver-coloured stamped floral head on a steel U-pin”—and keep any period estimate cautious.
Reading the reverse at a vintage stall
A seller’s photograph usually shows the decorative front. The reverse often tells you more about construction, wear and repair. If you are allowed to handle the pin, hold it against a plain surface in good light. Angling a phone torch across the back can reveal raised solder, lifting plating or a bent stone setting without scraping the metal.
- Check the join: Is the head firm, or does it rock independently of the legs?
- Follow the edges: Feel cautiously for burrs that could snag hair or fabric.
- Compare the legs: Are they evenly formed, with tips that slip into hair rather than dig in?
- Inspect settings: Look for missing prongs, loose glass and repairs that hide the original construction.
- Separate evidence from claims: Ask what supports the stated date, metal or maker.
A little asymmetry or an old repair need not rule a pin out, but it should affect how you describe, price and use it. Artificially darkened metal, meanwhile, is no evidence of age. If a piece bears a famous maker’s name, compare both the mark and the construction with reliable references rather than trusting the stamp alone. A clearly identified later revival is a better buy than an uncertain piece passed off as an original.
Why condition affects wearability
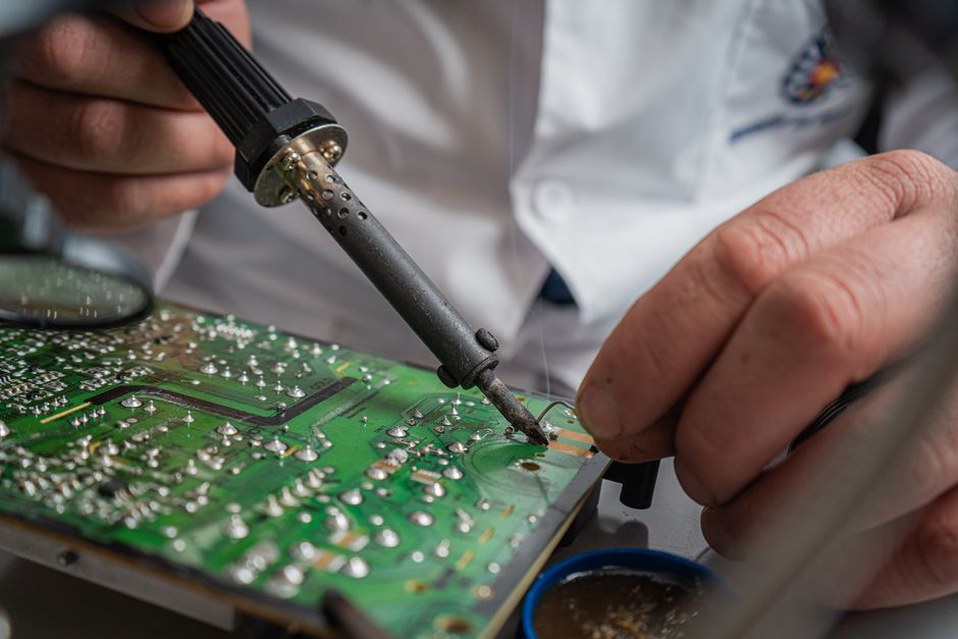
A decorative head puts extra strain on the join. A broad, heavy ornament on narrow legs may tip forward even when nothing is broken, especially if it sits away from the twist supporting it. Test the balance over a padded surface: ease the pin into a loose twist and let go without tugging. If the head falls forward, a tighter arrangement or a smaller supporting pin may help. Pressing the metal legs closer together risks weakening them.
Take particular care with plated steel where the coating has worn through. Rust-coloured spots, roughness or flaking are reasons to leave the pin unworn until it has been assessed. Verdigris—the green corrosion sometimes found on copper alloys—is not a desirable patina when it is powdery or spreading. Keep affected pieces apart from other accessories, and avoid getting residue on textiles.
Care that respects the construction
Begin with a dry, soft brush or cloth, working lightly around openwork and settings. Do not soak a mixed-material pin: water can reach concealed joins or sit beneath glass, and some decorative elements do not tolerate moisture. Metal polish is no catch-all. It can strip an intentional dark finish, abrade thin plating or settle into fine wirework. If you are unsure what the pin is made of, clean as little as possible.
Store pins separately in soft compartments or unbleached tissue, with the legs protected from pressure. Avoid damp storage and check now and then for changes to the surface. If a valuable or fragile pin has a loose head, a specialist jewellery conservator or experienced repairer can assess whether it can be secured without erasing clues to its construction.
Before wearing a new find, photograph its front, reverse and leg tips. Note its dimensions, visible marks and any existing repair. If the head starts to loosen months later, those photographs will help you tell what has changed since you brought it home.